
|
|
|
||||||||
|
|
|||||||||
| Home | Forums | Register | Gallery | FAQ | Calendar |
| Retailers | Community | News/Info | International Retailers | IRC | Today's Posts |
 |
|
|
Thread Tools |
|
|
#1 |
|
Dissembling TM P226
I'm currently in the process of installing the Prime NSW kit on my P226. I've run into a few snags. FYI I don't have the manual
-Can't get the mag catch out. -Can't get the slide release out. -Some fitments issues, nothing a file won't solve. If some one has a link in a online copy of the TM manual for the 226 that would help. Any help would be appreciated. |
|
|
|

|
|
|
#2 |
   Join Date: Feb 2005
Location: Swimming in a pool of Xpresspost receipts.... Toronto - 400/401
|
|
|
|

|
|
|
#3 |
|
Thanks Jugs, stared at the slide release until i notice the little indent that locks in.
Sill can't get the mag catch out. |
|
|
|

|
|
|
#4 |
|
the mag catch requires a bit of force as i discovered when i did a full metal upgrade
__________________
Stop Sulking About It! - Prioritize & Organize! - Canadian Airsoft Is Not A Crime! Primary: G36K Secondary: FMU SIG P226 |
|
|
|

|
|
|
#5 |
|
Sorry to revive a dead thread, but i find it most fitting to put it in this existing thread.
I have my gun all pulled apart (TM p226 Railed frame and i bought the guarder full metal railed frame kit). I was playing with the chamber a fair bit (p226 Diagram 1 on Jugglez ftp). And part # 10 and 11 seem to have come out of they're proper place, and I cannot for the life of me figure out how to put them back into the chamber. Do they go beside the p226-14 assembly and then into the chamber? DO they go in front of or inside #14? Also I seem to have lost screw p226-57 on my multicolored floor is that part necassary for the gun to function properly? I don't beleive it is myself, seems like it just protects the mag release from falling out or being pulled out. |
|
|
|

|
|
|
#6 |
   Join Date: Feb 2005
Location: Swimming in a pool of Xpresspost receipts.... Toronto - 400/401
|
Part 10 and 11 are the nozzle return spring and stopper. They pull back the nozzle during recoil.
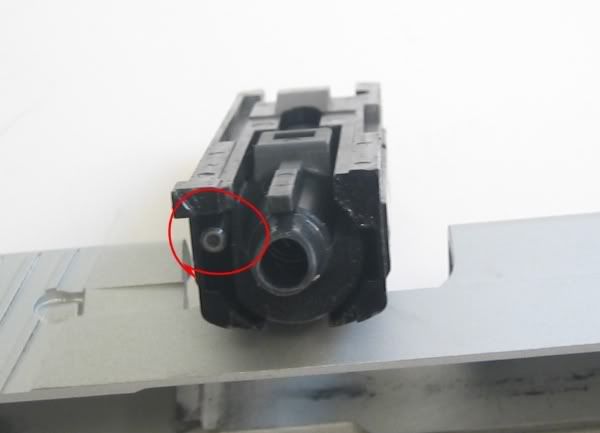
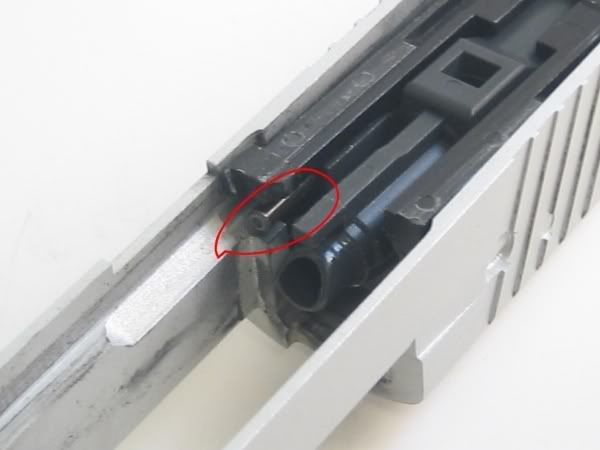
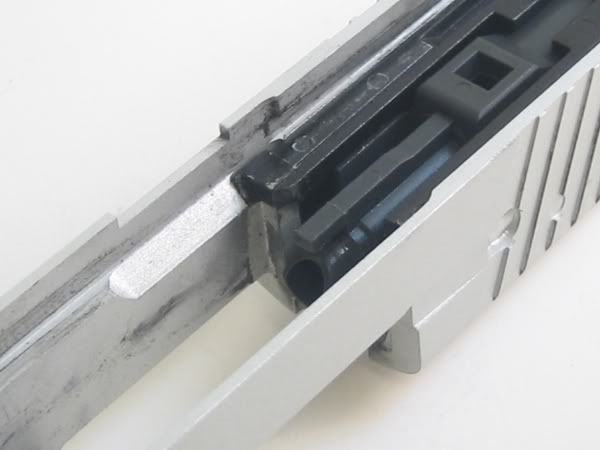
With the block and nozzle out, put nozzle into block first. You will see on the left a channel where Part 10 and 11 is supposed to go (if looking down the nozzle hole), slide spring into channel and place stopper into spring making sure thin half of stopper goes into the nozzel return spring.  Wiggle block assembly into slide.  Use a small allen key to hold stopper in while you wiggle the block down into place. Once flush you should not see any of Part 10 or 11.  That's it, push nozzle forward and it should spring back on it's own. |
|
|

|
|
|
#7 |
|
Thanks, also I just randomly lost the next smallest peice involved in this change-over, spring #38/39?, call me a clutz if you want lol.
Is there anywhere that I can order missing parts and pieces from or am i just screwed here jugg? |
|
|
|

|
  |
|
||||||
| Bookmarks |
|
|
 |