

|
|
|
||||||||
|
|
|||||||||
| Home | Forums | Register | Gallery | FAQ | Calendar |
| Retailers | Community | News/Info | International Retailers | IRC | Today's Posts |
 |
|
|
Thread Tools |
|
|
#1 |
|
A new thread for all my Glock tinkering.
I started out with buying a WE G17 (Gen 4) and I decided that I like Glocks. However after purchasing a few aftermarket parts the decision was to get rid of it and only focus on the TM platform. So I ordered a G17 from Greece. Why? Because they are a part of Europe. And parcels between EU countries doesn't have the need get taxes or duties. Also, the price was like 70-80€ cheaper from there. The Tokyo Marui platform is always around 250€. Where as this shop in Greece sells them for between 150 - 200€ depending on which product it is. Sweet. Took them like 4 days to send it here! So...not long after that I started to order parts and here's the list I ordered so far: Guns Modify TM Glock Extended Slide Stop (Silver) Guns Modify CNC G17 Blowback Housing Set Guns Modify CNC GBBU Rear Plate (Secret) Guns Modify Reinforced High Flow Nozzle Set Guns Modify SAI Aluminum Adjustable Trigger (Silver) Guns Modify Extended Slide Lock (Silver) Guns Modify Zero hammer Set Guns Modify Reinforced Titanium Coated Trigger Bar Guarder Frame(Gen 3, TAN) Guarder Beaver Grid (Gen 3, TAN) AIP Loading Nozzle Springs (just in case) Ready Fighter SAI Style Glock Trigger set (Black) Thunder Airsoft Aluminum CNC Mag Catch (Silver) S.R.U. Mechanic slide set. (G34 OD) S.R.U. Mechanic Holster. No. I do not know how much this is, I didn't count. Yes, I have a problem. The only pics I have of the pretty much stock G17 (except the trigger and slide lock). Please keep up with the de-starring, it's just a booster for me! Last edited by famidrive; November 23rd, 2014 at 07:36.. Reason: Haters gon hate. <3 |
|
|
|

|
|
|
#2 |
|
Prancercise Guru
|
Why didn't you put this in one of the other Glock threads?
Is there something special here?
__________________
Airsoft, where nothing is hurt but feelings. |
|
|

|
|
|
#3 | |
|
Quote:
I have a Hi-Capa thread as well, not sure why this is any different. Last edited by famidrive; November 21st, 2014 at 16:15.. |
||
|
|

|
|
|
#4 |
|
People sure are nice on this forum aren't they? ._.
I sure do attract all the bullies. - Don't judge a book by it's cover. - Time to be nice back and actually contribute with some beginner tutorials and some high quality comparisons. People who are disassembling their G17 for the first time might be confused with the small parts when assembling. Here is a comparison between the stock Tokyo Marui slide release and the one from Guns Modify. I tried to make the instructions as clear as possible. Hope it helps. Enjoy. |
|
|
|

|
|
|
#5 |
|
My own comparison between the Guarder Gen3 grip
and Tokyo Marui's stock. My first impression when holding it was that it felt somehow nicer than the stock and immediately when looking inside the frame - the front post is now reinforced, very nice. It's a shame that they haven't released a version where the rear post is reinforced as well. There's a grip / frame made by Guns Modify, which is reinforced at the rear post as well but I haven't seen those anywhere but on their own website. Although, when installing this, there will, most likely be problems. When I moved over the internals to the Guarder frame and racked the slide - of course there was issues of the slide getting some really hard contact with the frame. The guide rod spring was way too weak to push the slide back, so it just got stuck and I had to put some force onto it to get it back. So I have been studying it a little and saw that there was a noticeable difference between the chassi and the actual grip / frame. Check the images and you will know what I'm talking about. |
|
|
|

|
|
|
#6 |
|
Have too many images of the internals and stuff to post so I'll settle for
these in progress photos. I haven't gotten the slide to move freely just yet. Still have to modify the rails a bit. And I wasn't happy with the Tan/DE frame so I ordered an OD one as well. I also noticed that my front post on that OEM frame already split and I haven't even used it that much stock. That's sad. However, enjoy the photos. Or not. 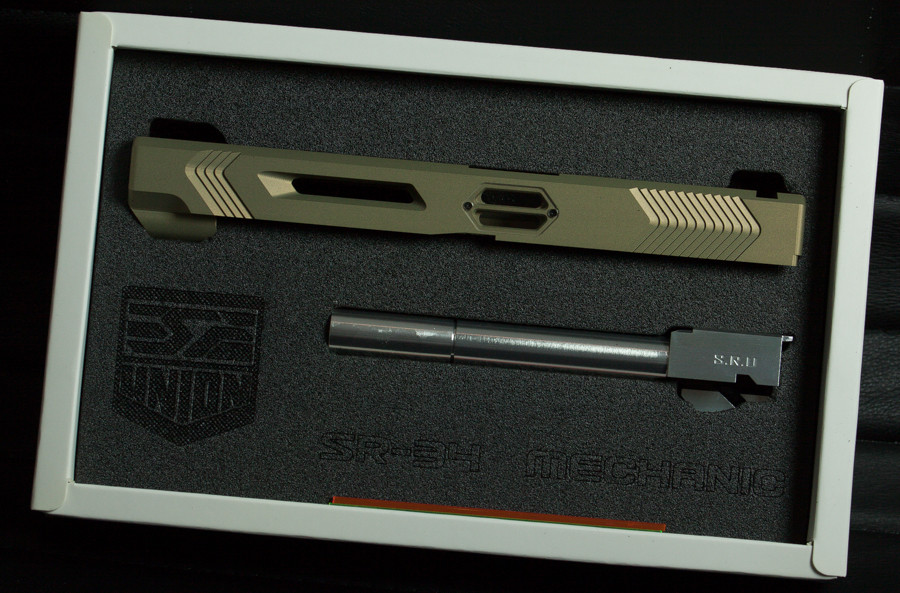 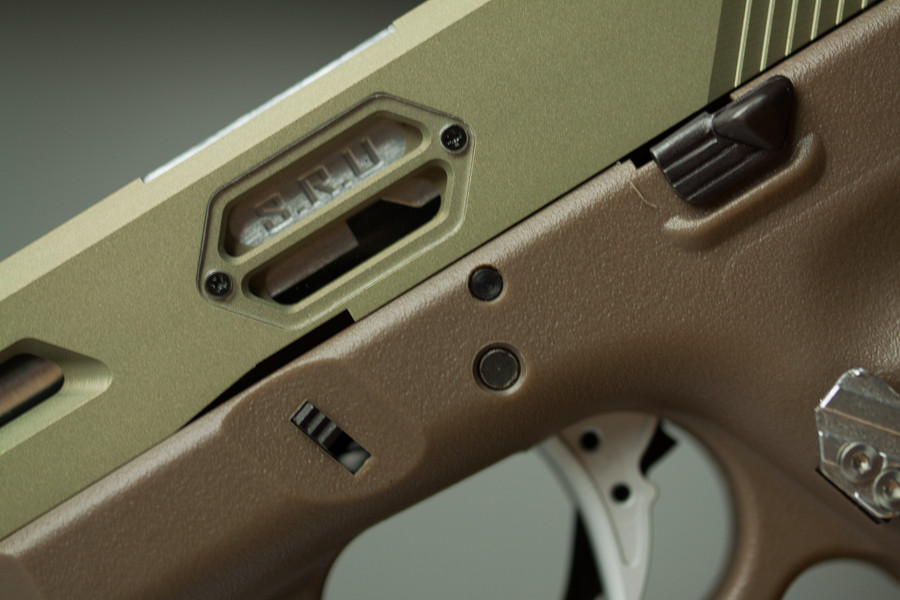  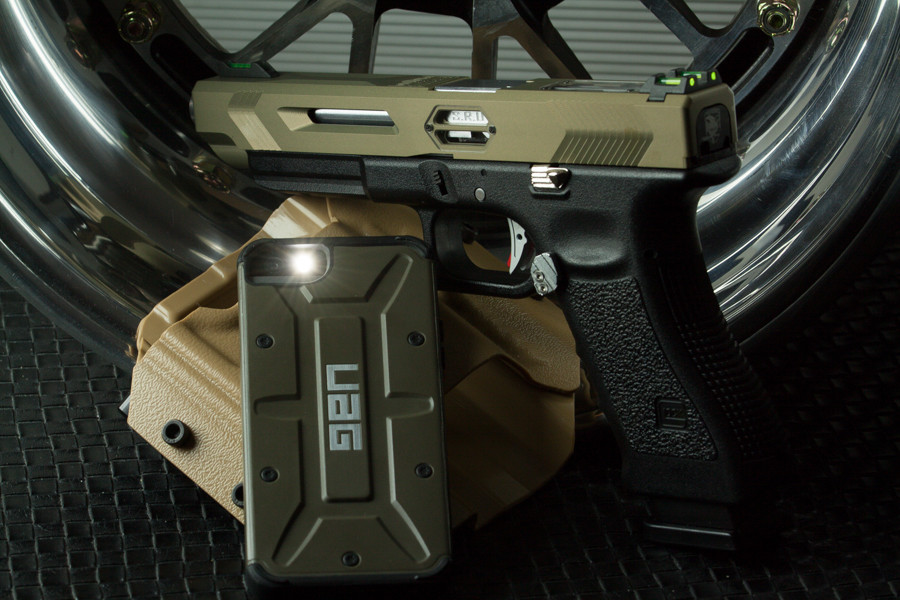 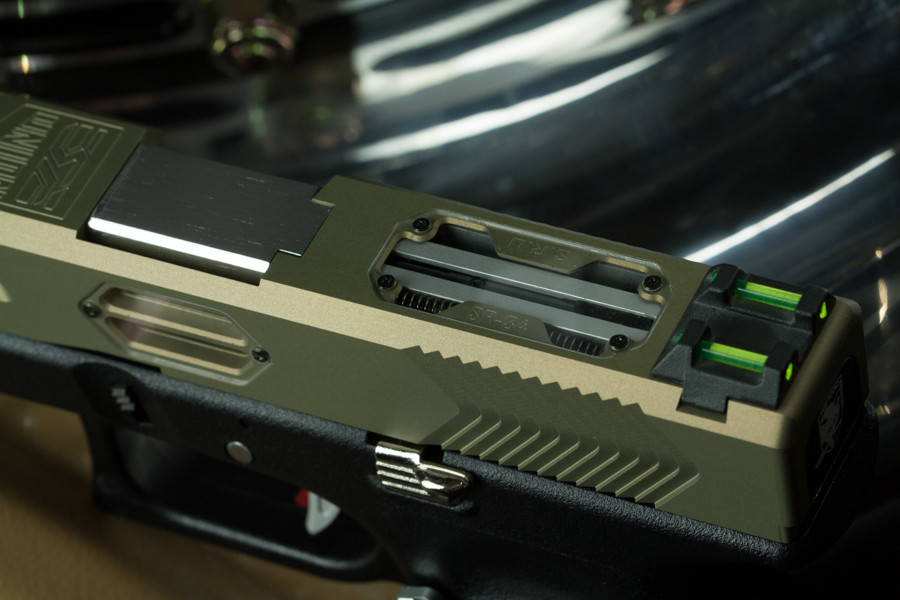 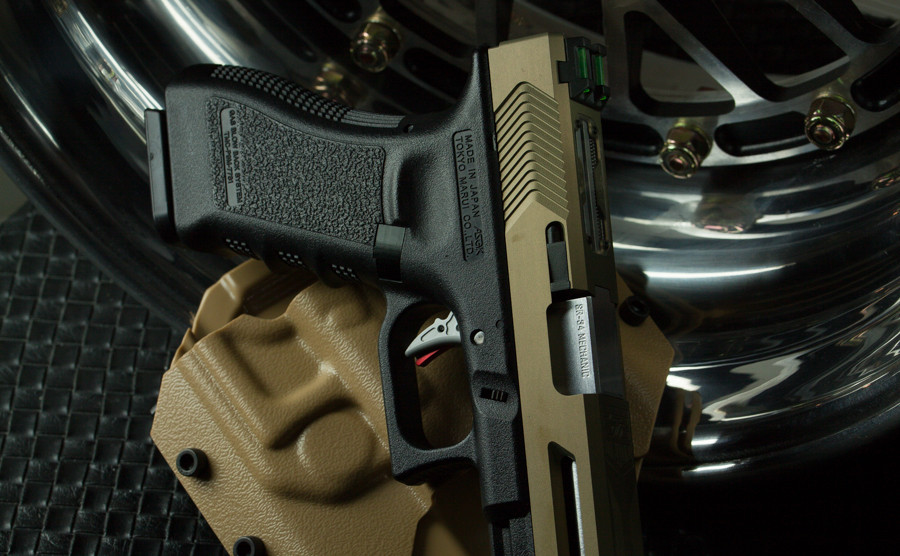 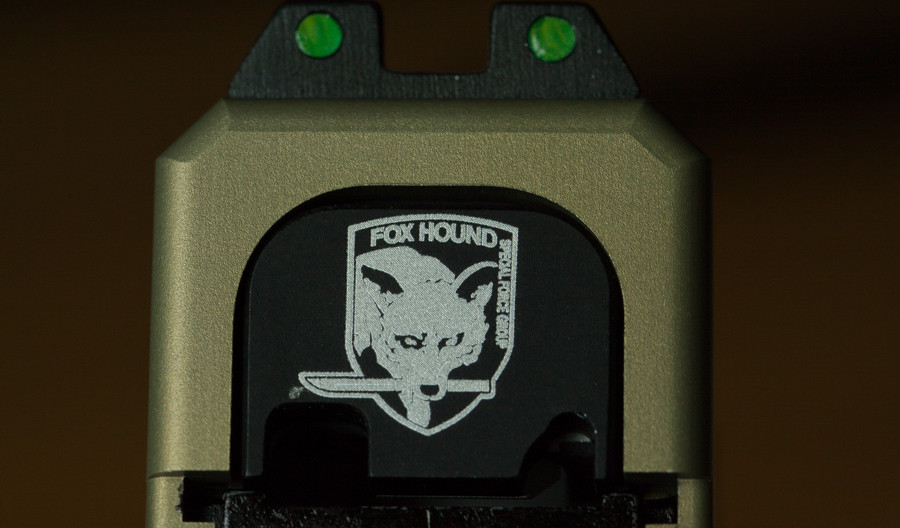  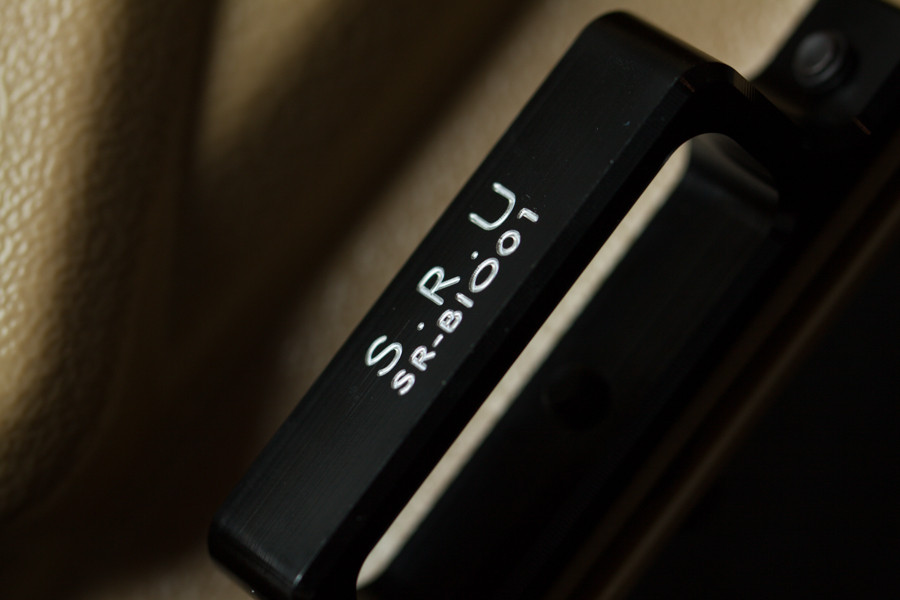
|
|
|
|

|
|
|
#7 |
|
purdy
|
|
|
|

|
|
|
#8 |
|
Thank you, thank you! Pics were also uploaded by "S.R.U GBB"
on their FB page. It's pretty impressive how they make everything in house. Only 3pcs of these comes out of their shop per day. This slide kit comes with instructions on how to modify your rails to make the action smooth. You may or may not have to do some other fitment depending on if you have swapped out parts in your hammer assembly etc. I'll be uploading some more info and stuff as I get time. |
|
|
|

|
|
|
#9 |
|
That is frikin gorgeous! Holy cow, I can't imagine how expensive it must be tho.
Location: YYZ VOR 062 radial, 17.5 DME FL5280 |
|
|
|

|
|
|
#10 | |
|
Quote:
Had to file down the bbu carefully, the outer barrel chamber, the hop base some modifications to the hammer assembly...had to shave stuff inside the slide. ETC ETC. 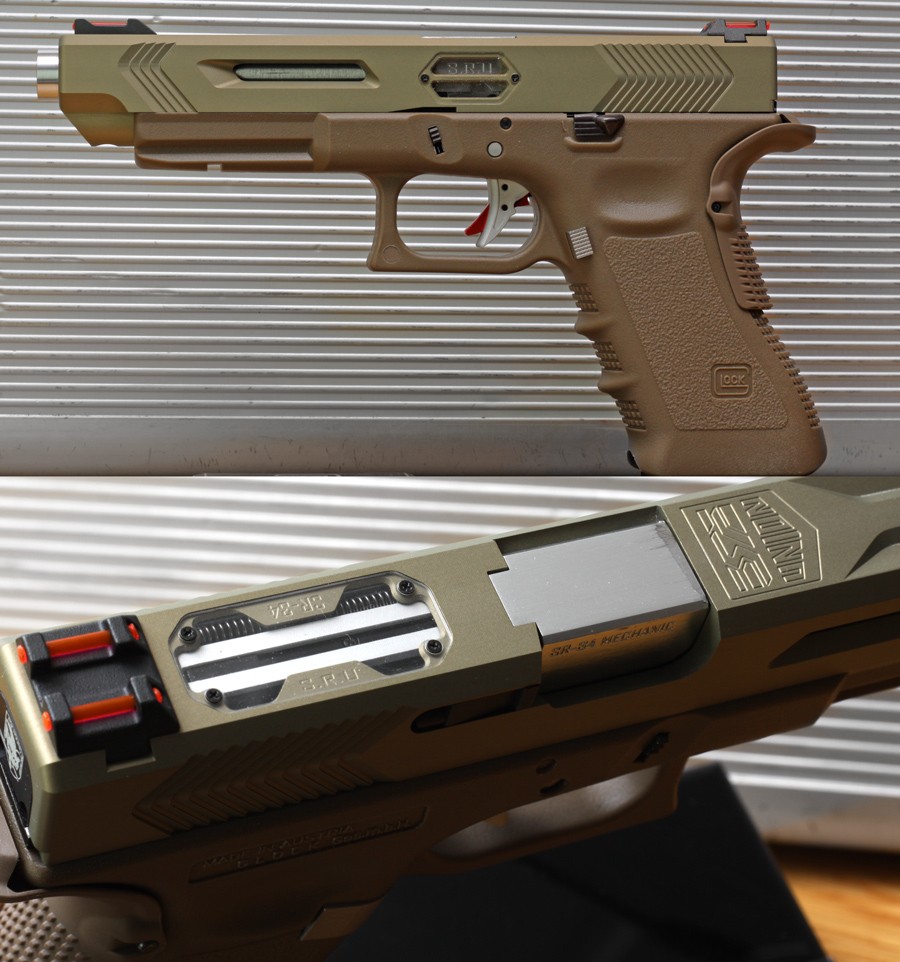 My other project - the Caspian MK II has almost been completed. The progress images will be uploaded at some other time when I feel like it. I modified the WE G17 hammer housing to fit and function just fine along with other things. The sights I bought just to replace the shitty OEM ones are also shitty - but at least they won't break. They're by the brand 5KU and did not fit without modifications. Careful filing did the work. 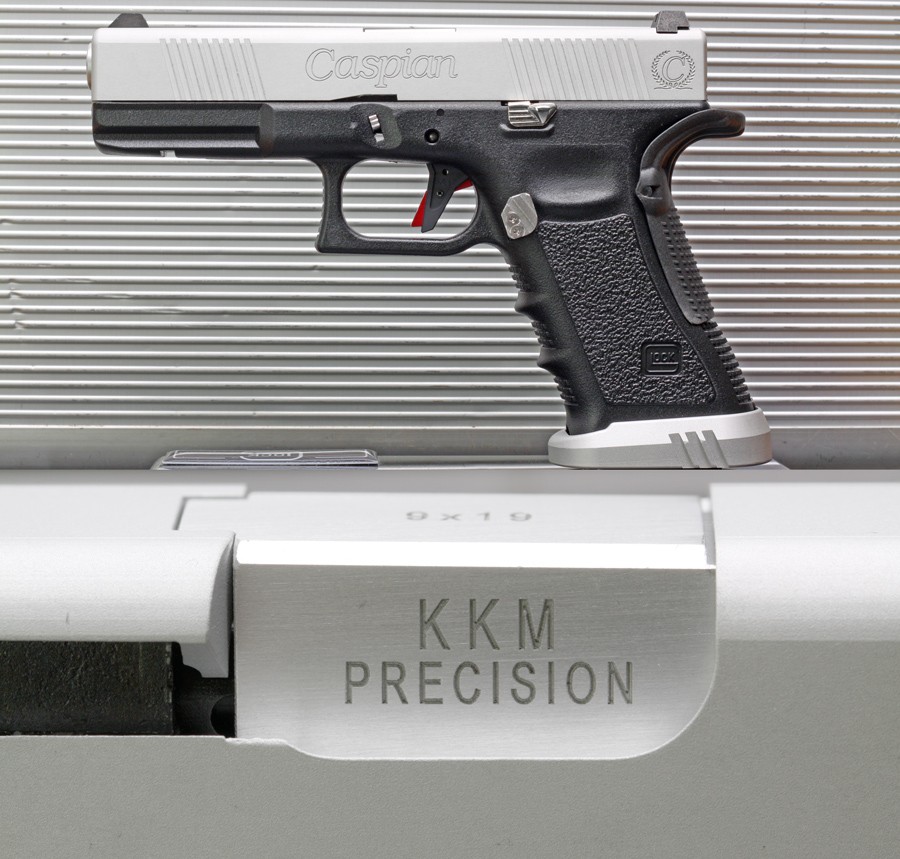
|
||
|
|

|
|
|
#11 |
|
Upping for more hate to come.
|
|
|
|

|
|
|
#12 |
|
LOL fami.. where are you located?
__________________

|
|
|
|

|
|
|
#13 |
   , Sweden, unfortunately. Canada is much nicer! , Sweden, unfortunately. Canada is much nicer!Started to do something I have thought about for a long time. Attempt to make a nice mirror polish on the sides of the Caspian MKII slide. This is after a few hours to get most of the matte finish away. I used P80 grid. Next I guess a steady walk of sanding from 100 - 200 grid. Boy oh boy is it going to fun. 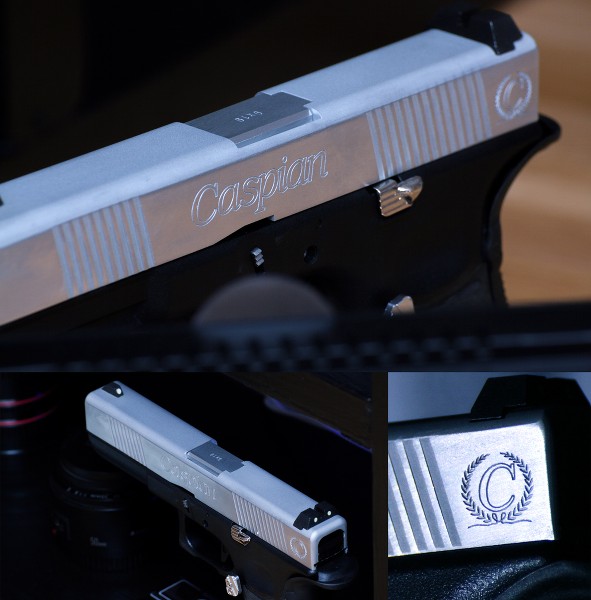 Oh right. I also used the stock TM frame as a test dummy for my first G-frame stippling process. I took a cordless dremel with one of those stone sanding bits (pics to come) and started to work the frame in a way so that the original texture melted off and merged with the frame. Almost done with 1 side and the front part under the trigger guard. Last edited by famidrive; May 24th, 2015 at 08:55.. |
|
|
|

|
|
|
#14 |
|
willing to perform services in a dark alley that may or may not leave you satisfied for a title. GFE = 1, looks = 2, BBFS for an extra $50.
|
|
|
|

|
|
|
#15 |
|
Hey, I'm not the hater! Check out the starring of the thread.
 Thanks! 
|
|
|
|

|
  |
|
||||||
| Bookmarks |
| Thread Tools | |
|
|
 |